
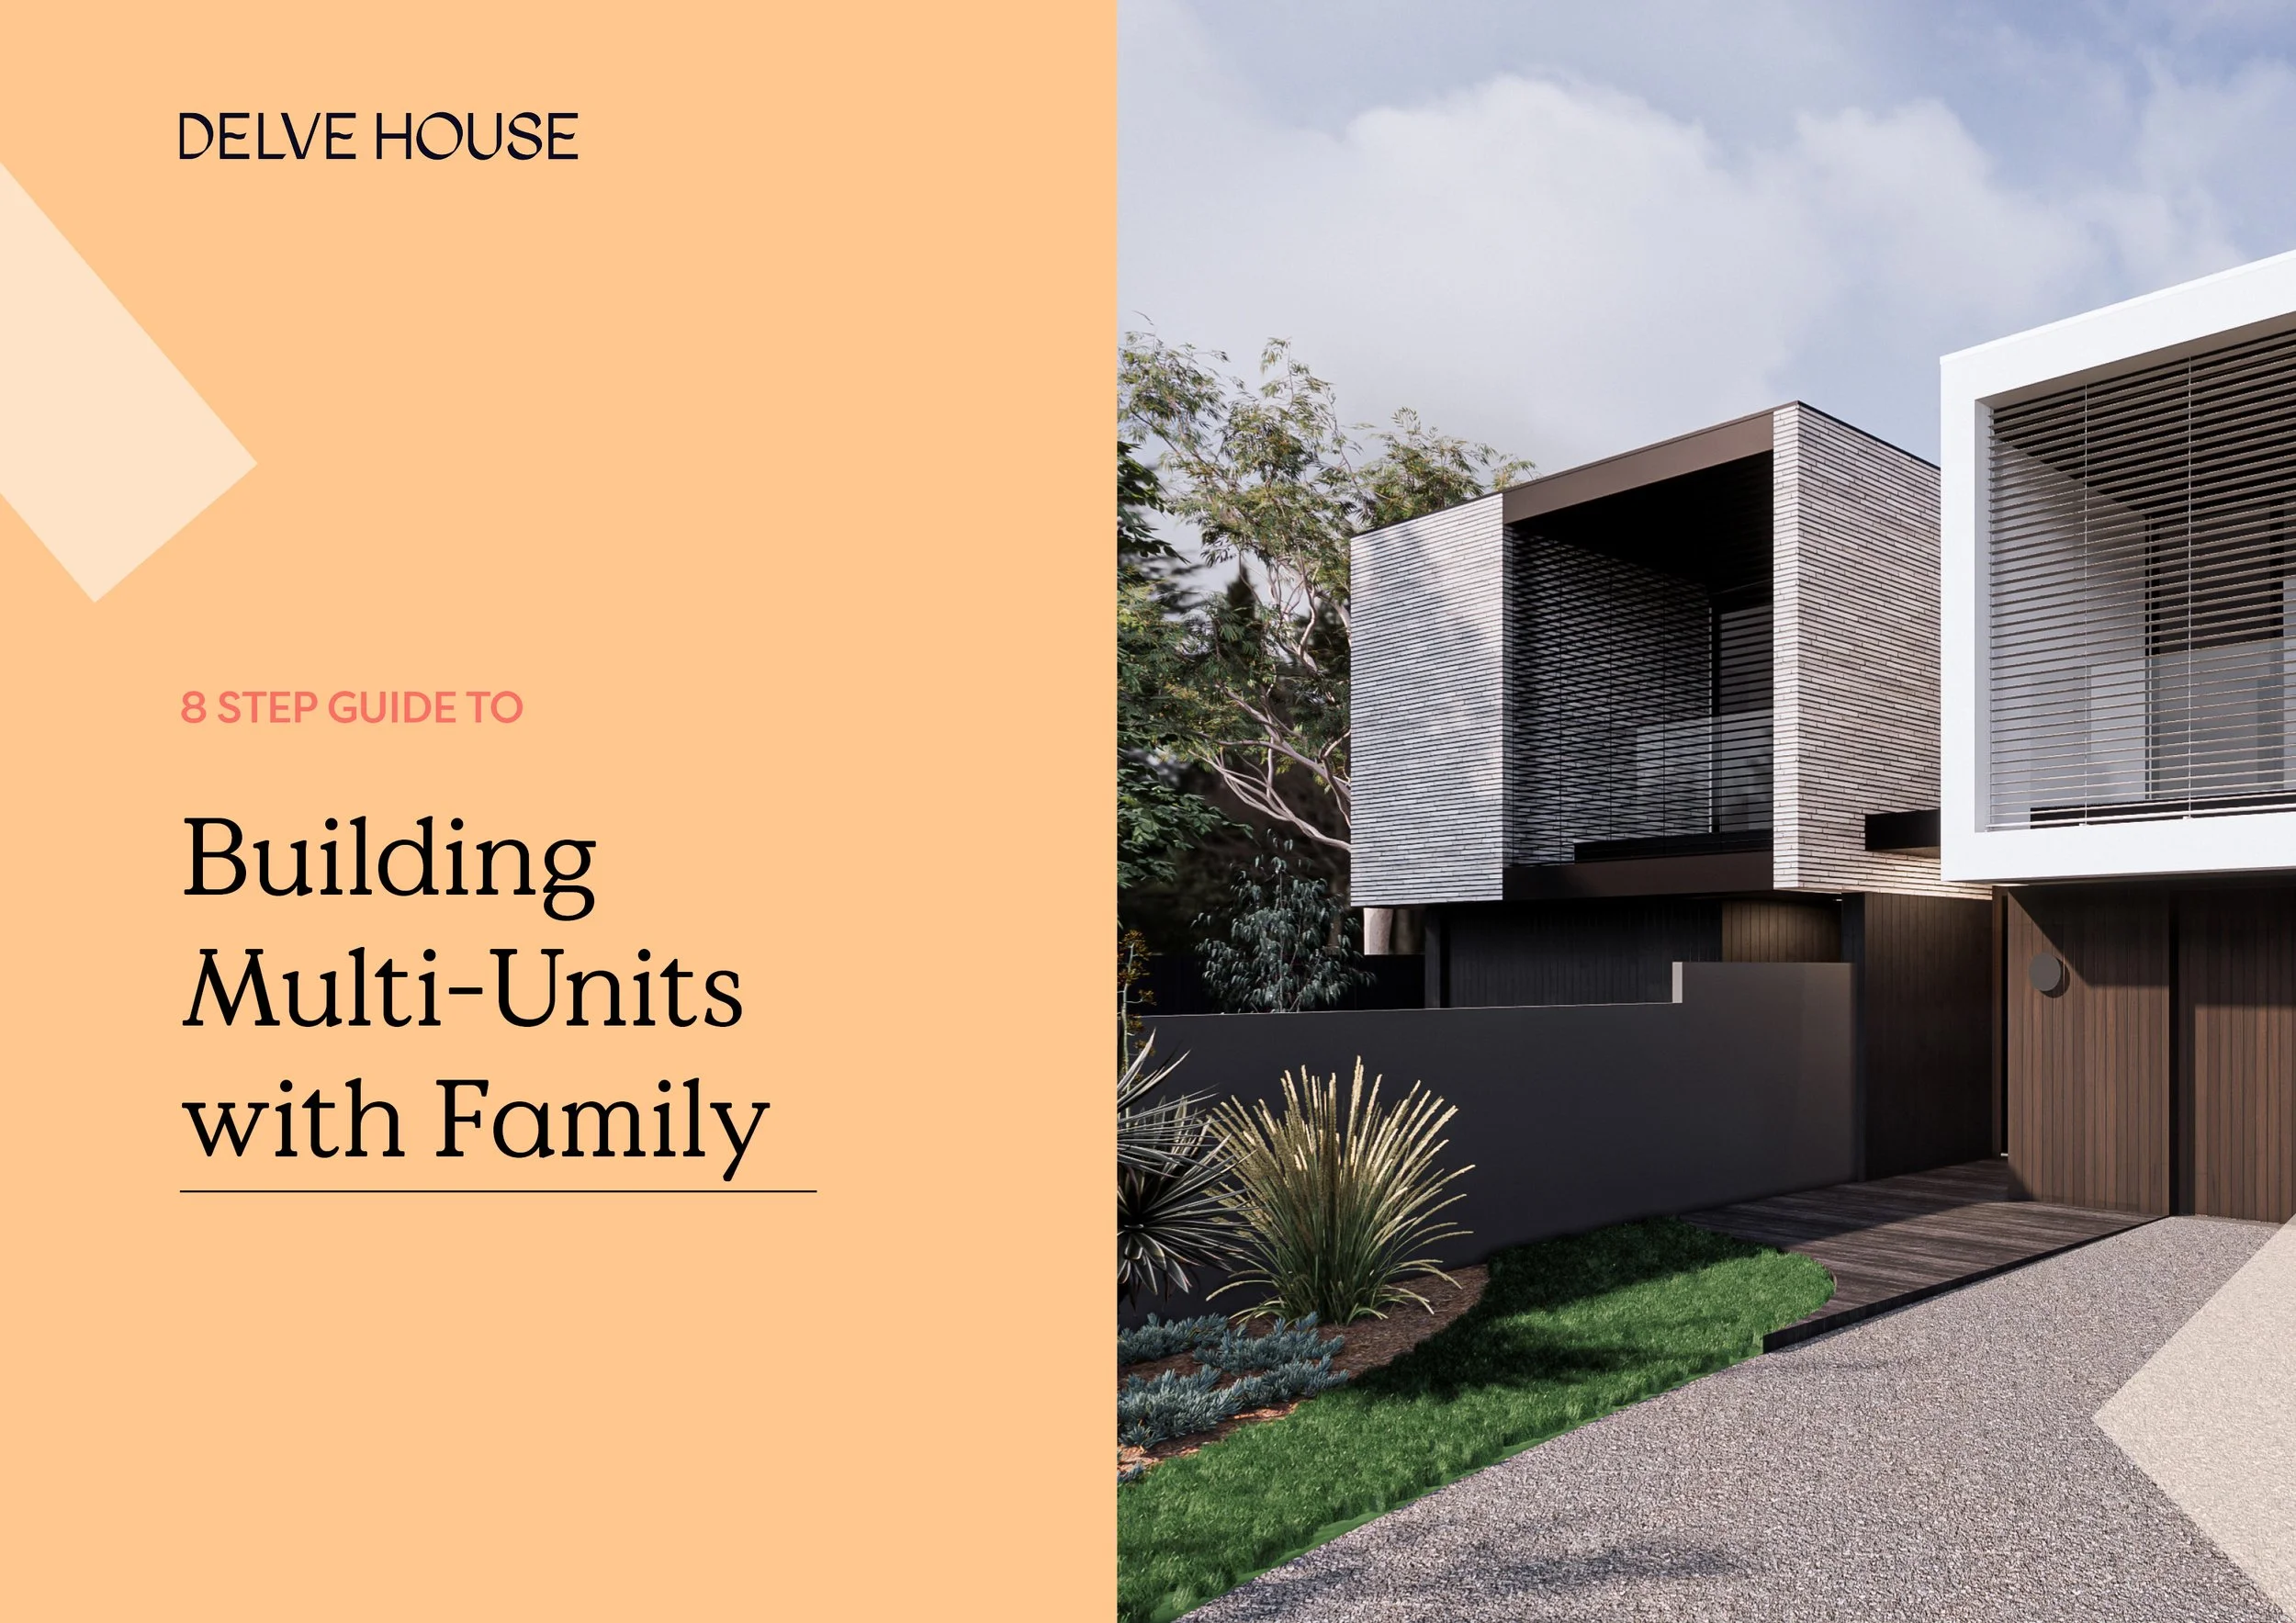
Collaborative Developments: Guide to Small Housing Subdivisions with Family
Our Go-to 8 Step Guide with bonus checklist
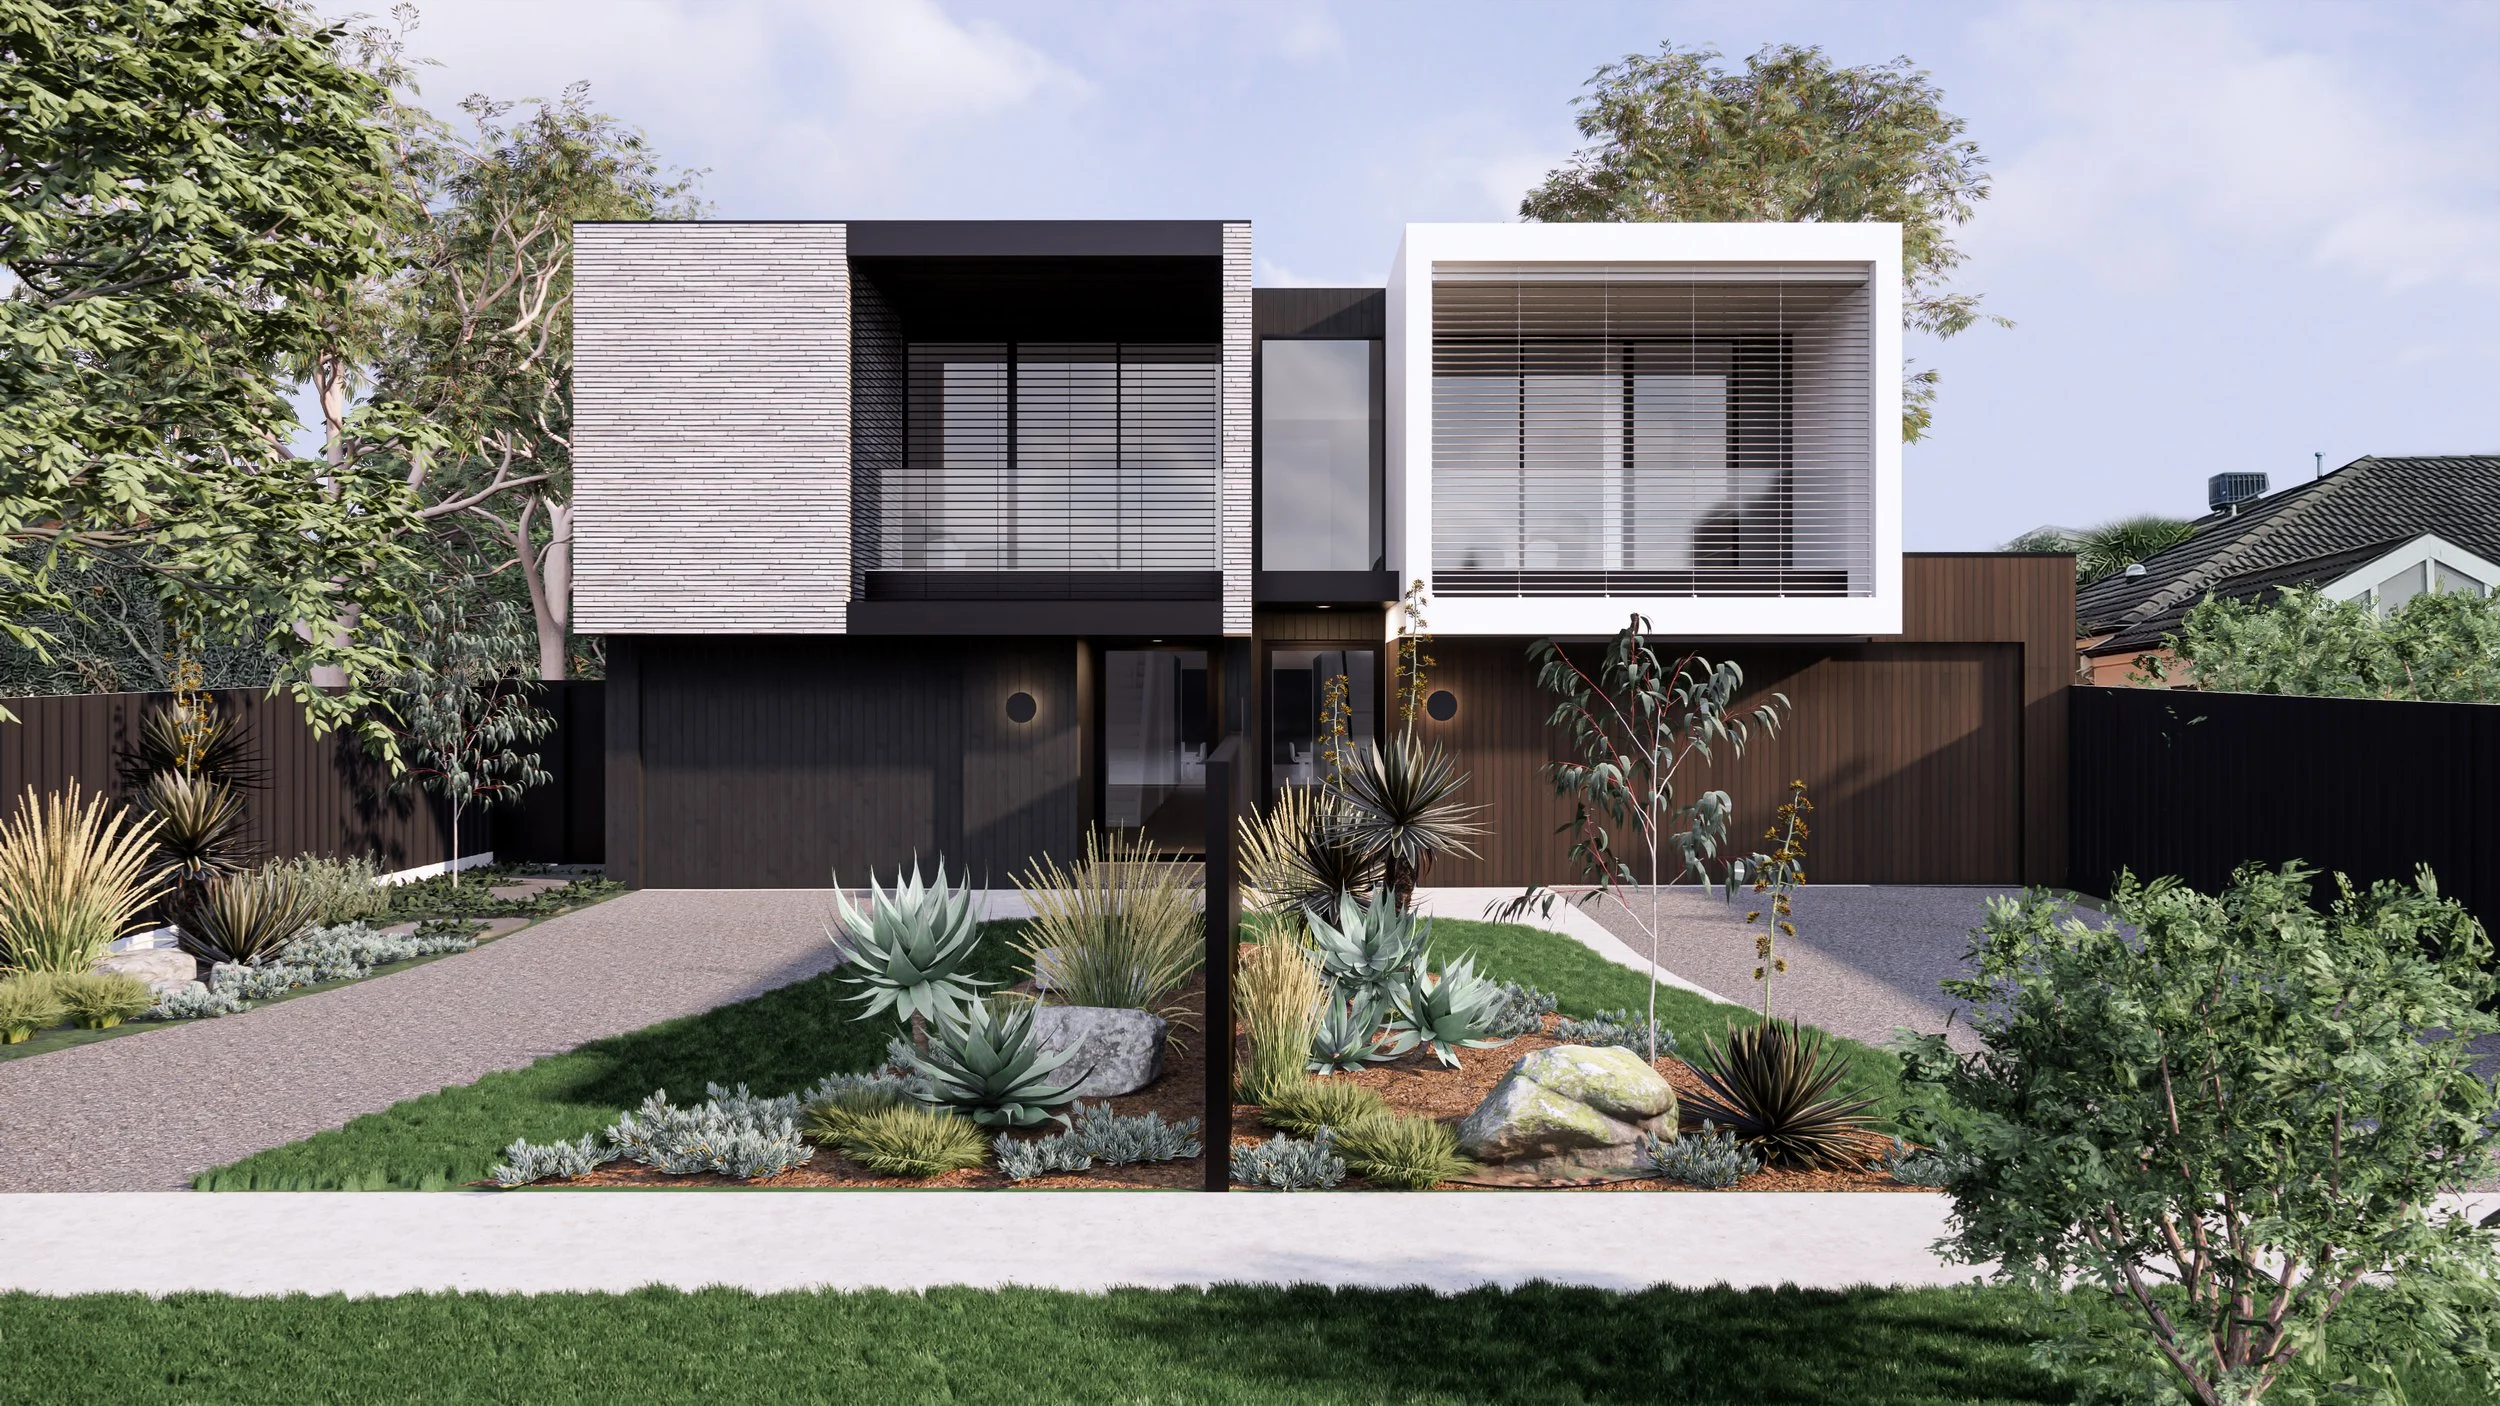
Imagine waking up every day in the comfort of your dream home, surrounded by your loved ones. Picture your kids playing with their cousins in a safe, communal space while you catch up with your family over a cup of coffee.
Subdividing, building and living with extended family offers numerous emotional & cost benefits that can enrich your life in immeasurable ways. If you’re reading this post right now, likely you’ve already considered a scenario like the one above and are interested in the idea of a collaborative development.
Let us take you through our 8 steps to get you there!
1) Assemble your community
The first step is to nut out the parties, what everyone will contribute and what existing resources you have collectively. This will inform your project planning and project feasibility.
WHO
Work out who you’ll be collaborating with to take on the project, this might be either family or friends. How many parties will be involved? This will differ depending on the reasons for undertaking the project. For example, you might be purchasing mum and dad’s backyard to build your dream home in a suburb you couldn’t otherwise afford. Another example would be you are looking to purchase a property with your sister in order to subdivide and build a home each at cost.
DEFINE ROLES & CONTRIBUTIONS
Determine the type of project you’re all looking to take on, whether it be a dual occupancy or multi-unit development. Consider what each member could contribute to the project; funds, borrowing capacity, existing land or time.
It is also important to clearly define each person’s role moving forward. Who will be managing? Who will be the main point of contact for consultants? Who will oversee the construction and who will track the budget? The last thing you want is too many cooks in the kitchen when it comes to communicating decisions to consultants!
PRELIM RESEARCH & ADVICE
Look into the process and seek professional advice early. There are areas you will need to do some research on such as rough costs, how to find a suitable site (if you are co-purchasing land), and what are the risks? Some questions to seek professional advice on:
Architect/Designer: What permits are required and what design possibilities are there?
Banks/Mortgage Broker: What financing options are there? How much can we borrow?
Accountant: What purchasing structure is best for our situation and what are the tax implications?
Having an overarching plan and concept of how the project will run at this initial stage will make upcoming steps much easier. Doing this research at the beginning will also determine whether or not your goals are achievable or if you have to rethink your strategy.
2) Assess your Concept: Is your Site Feasible?
Once you have a plan nutted out, it’s time to check the feasibility of your site. Whether this is a new site you will be co-purchasing to subdivide or you are looking to subdivide an existing site owned by one of the parties, the feasibility of the concept will depend solely on what you can achieve on your block.
CHECK WITH COUNCIL
All councils are different & have varied guidelines & neighbourhood character requirements in terms of what can be developed within their municipality. Some sites may allow for higher density developments whilst others may restrict them. You can contact the local Council Planning department to discuss your plans in general for a specific site, but you’ll need to speak with an expert to go into the nitty gritty.
SITE FEASIBILITY
It’s imperative that you carry out a site feasibility study to determine whether or not a site is subdividable, identify potential issues/opportunities & risk levels before you sign on the dotted line. Ask your designer to check the planning controls, site features & restrictions of a property as these factors will determine if a site is suited for subdivision & how many units you might fit. For further reading on whether you can subdivide or develop your property check out our post. Check out our Site Feasibility Packs which helps you determine the potential of your property.
DESIGN OPTIONS
Speak to your designer/architect about getting early concepts of what is possible on your site. Rough sketch layouts may help you make a decision about redeveloping an existing site or purchasing a new one. Things like dwelling footprints, internal sketch plans and potential shared spaces may be included in concept layouts.
This can be a good way of exploring design possibilities before committing fully to a project.
3) Money Talks: Is your Idea Financially Viable?
Although you are developing to live rather than for profit, the financial aspect should be treated much like any business: You must have a clear strategy and financial feasibility model set up from day one. Run the numbers through each potential site you are looking at to determine if the project is realistic for everyone in the group. You do not want to be tripped up along the way or rack up a construction loan you will struggle to repay.
COST BREAKDOWN
To work out your project feasibilities, determine how much you should be spending from acquisition to resale, what everyone’s budget is & how much you will need to borrow.
Your feasibility should have a detailed breakdown of every cost involved with the project & when the funds will be required & available; site acquisition, consultant fees, applications, holding costs, construction costs, permit fees, all need to be considered.
FINANCING
Speak to your mortgage broker whether home loan or development finance will apply to your loan. Different banks will have different criteria and as the two types of finance will have different deposit and interest requirements, it’s important to determine this early.
Also seek legal advice to get a co-ownership agreement drafted up if you are taking out a loan together. Co-borrower home loans may be a good option in this case
ALLOW FOR CONTINGENCY
Always leave room for a contingency sum in your financial feasibilities. These funds should be set aside for unexpected events or costs, without a contingency buffer you may find yourself unable to complete the project if any unexpected crops up.
4) Buy Right: Purchase Structure & Acquisition
Before commiting to a purchase, sort out the ownership and tax structure with your accountant or solicitor. Speak to them about the best setup for your group’s situation to suit everyone’s needs.
PURCHASE STRUCTURE
Depending on whether you are developing an existing parcel of land that one of your group owns or co-purchasing new, speak to your accountant/mortgage broker to discuss the property ownership options.
For example you may decide to purchase together as tenants in common, each with a percentage ownership, or you may purchase under a family trust.
You should also speak to them about the tax implications if transferring subdivided land to each party’s name such as stamp duty
Ensure you seek expert advice that’s specific to your situation.
COVENANTS & EASEMENTS
Ask your Solicitor to check the contract of sale, you should be on the look-out for covenants & easements which may restrict/prevent a site from being developed. For example, a single dwelling covenant will restrict your ability to build more than one home on the site.
LONGER SETTLEMENT
If possible, consider a longer settlement as your designer/architect can take advantage of this period to carry out preliminary design works & gather information saving you on time & holding costs.

5) Plan for Success: Planning Application
If you are looking to build multiple dwellings on a site, you will need to get a planning permit through your local council.
ENGAGE A BUILDING DESIGNER/ARCHITECT
Engaging a building designer/architect will be your first point of call once you have purchased a property. Getting the right advice from the beginning will save you time, money & enable you to make more informed decisions. Make sure you engage a designer who specializes & is experienced with this type of project, as not all are! Avoid selecting a designer solely based on the cheapest quote, if they haven’t allowed enough time for their services you might find they’ll need to cut back on their involvement (time spent) on your project. Remember you get what you pay for.
For better or worse you’ll be largely dependent on your designer’s support, commitment & expertise once the project is in motion.
Check what’s been included in their scope of services before engaging them. For example, some designers will only include drawings for Council submission in their services, charging separately for additional changes whereas others might not be involved with the planning application, which means you may need to engage a Private Town Planner separately, adding to overall costs. Make sure you compare like for like.
PLANNING DESIGN PROCESS
Be clear to communicate with your designer your construction budget as early as possible. There’s no point in designing a project & waiting months for Council assessment on a project you can’t afford to build!
Your designer will design/draw up plans in accordance with local Council development guidelines & your concept/project brief. They’ll be your main point of contact & will be responsible for coordinating Consultants/Authorities, gathering reports, plans & documents required for the Planning application.
CONSULTANTS
Depending on the complexity of your project, you may consider engaging a Private Planner to manage the planning application. Their role will be to mitigate planning related risks & to improve chances of planning approval by providing advisory services. Find out what consultants you will need here.
HAVE AN EXIT STRATEGY
Have a Plan B. When it comes to planning applications, the process is not black & white & there are no guarantees. For a breakdown of the town planning process, dont miss this blog article. If Council are not supportive of your development plans, you may consider redesigning the plans to satisfy Council requests before a decision is issued or prepare to take the matter to VCAT.
TIMEFRAME
The planning process typically takes anywhere from 7 – 12+ months & there are many factors which effect how long it will take to get a Planning Permit.
6) Get the Green Light: Building Permit
Once you have a planning permit in hand, you’ll need to select a builder & obtain a Building Permit before you’re able to proceed to construction. Building Permits are issued by Building Surveyors who you will need to engage to assess all drawings and documentation and ensure compliance with Codes and Regulations.
DETAILED WORKING DRAWINGS
Your building designer/architect will produce detailed working drawings for the Building Permit assessment and for your builder to use for construction. This drawing set is different to planning drawings which only show basic layouts, setbacks & other town planning related information. If you are confused about the two, check out our post here.
CONSULTANT DOCUMENTATION
The working drawing set is also accompanied by Consultant documentation such as Structural/Civil Engineering drawings, Geotechnical report & Survey plans & 6-star energy report. It’s best that your designer co-ordinate the consultants as their working drawings will need to incorporate all information & they would typically have established working relationships with preferred consultants.
ADDITIONAL DRAWINGS
Your designer may also include additional drawings such as; electrical & lighting plans, joinery design, material & colour selection, fittings & fixture specifications & interior design. Typically, these items are not required for a building permit however, they form your home design. Without these details, you’ll be relying entirely on the builder to work these aspects out for you or they may simply be left out. Not all designers will include these items in the typical scope of services, make sure they’re included if you need them.
The more information that’s included in your working drawing set the more accurate your builder’s quote will be as there’s less guess work.
7) Find your Perfect Match: Choosing the Right Builder
Once the working drawing set is more or less complete, you’re ready to submit drawings & documents to prospective Builders to provide quotes (tender). Some designers will carry out this process on your behalf, however not all will. Once you’ve shortlisted a few builders, you or your designer can issue them with a Tender set of working drawings. The tender process typically has a set timeframe to allow builders to gather quotes from contractors, suppliers & to produce a detailed proposal.
CHECK INCLUSIONS/ALLOWANCES
Once all Tender quotes are received, it’s important to carefully check through the inclusions & allowances. It’s best to have your designer check through the quotes, as they may be able to point out things you may not have considered. Avoid selecting your builder solely based on the lowest price and make sure you compare like for like - some quotes may be cheaper because they have made set $ allowances for certain things rather than price it up exactly as per the drawings. The final project cost may change depending on what has been allowed for & included in the building contract.
HAVE A CONTINGENCY FUND
Always leave additional funds as a contingency, as all projects will run into unexpected costs during construction.
8) Build: From Blueprint to Reality
Depending on the size & complexity of your build, the construction process can take anywhere from nine to twelve months plus. You’ll have an agreement on a project timeframe within the building contract. Check out our construction cost guide for some handy tips and information on estimating costs.
PAYMENT
Payment made to the builder is typically broken up into six main stages; deposit, base, frame, lock-up, fixing & completion. The payment amounts will be detailed in the building contract.
ON-SITE INSPECTIONS
A Building Surveyor will be responsible for mandatory on-site inspections for major construction milestones such as foundations, framing, lock up and the like. They must carry out inspections & certify that all built works have been carried out in accordance with relevant Code & Regulations, documentation & relevant approvals. They’ll need to cover aspects such as waterproofing, fire protection, smoke alarms, room heights, head clearances, cladding, foundations, levels and so forth.
CERTIFICATE OF OCCUPANCY
If the Building Surveyor deems certain aspects of the work as deficient, the builder may need to rectify works to obtain sign off. Only after a Building Surveyor is satisfied with all built works will they issue the final certificate of occupancy. This means the dwellings are ready for occupation and you can move in!
CONTRACT ADMINISTRATION
If required, your designer can include in their services; on-site inspections/meetings & contract administration to assist in managing construction with the builder. This ensures that issues are resolved quickly & professionally & that the build stays within budget & as documented.
SUBDIVISION
Your land suveyor will lodge a plan of subdivision with council for certification. On construction completion, council will issue a Certificate of Compliance and the lots can be registered with the Titles Office. You can also do this step prior to construction (essential services must be connected/built) via a 173 Agreement with Council

8 Step Guide to Building Multi-Units with Family
We’ve put our guide into a handy PDF download complete with bonus checklist for you to download and share with your family